How to Create Custom WordPress Layouts with Elementor
Building a unique page structure in WordPress no longer requires a custom theme or advanced PHP skills. With the right strategy, you can design pixel-perfect layouts,...
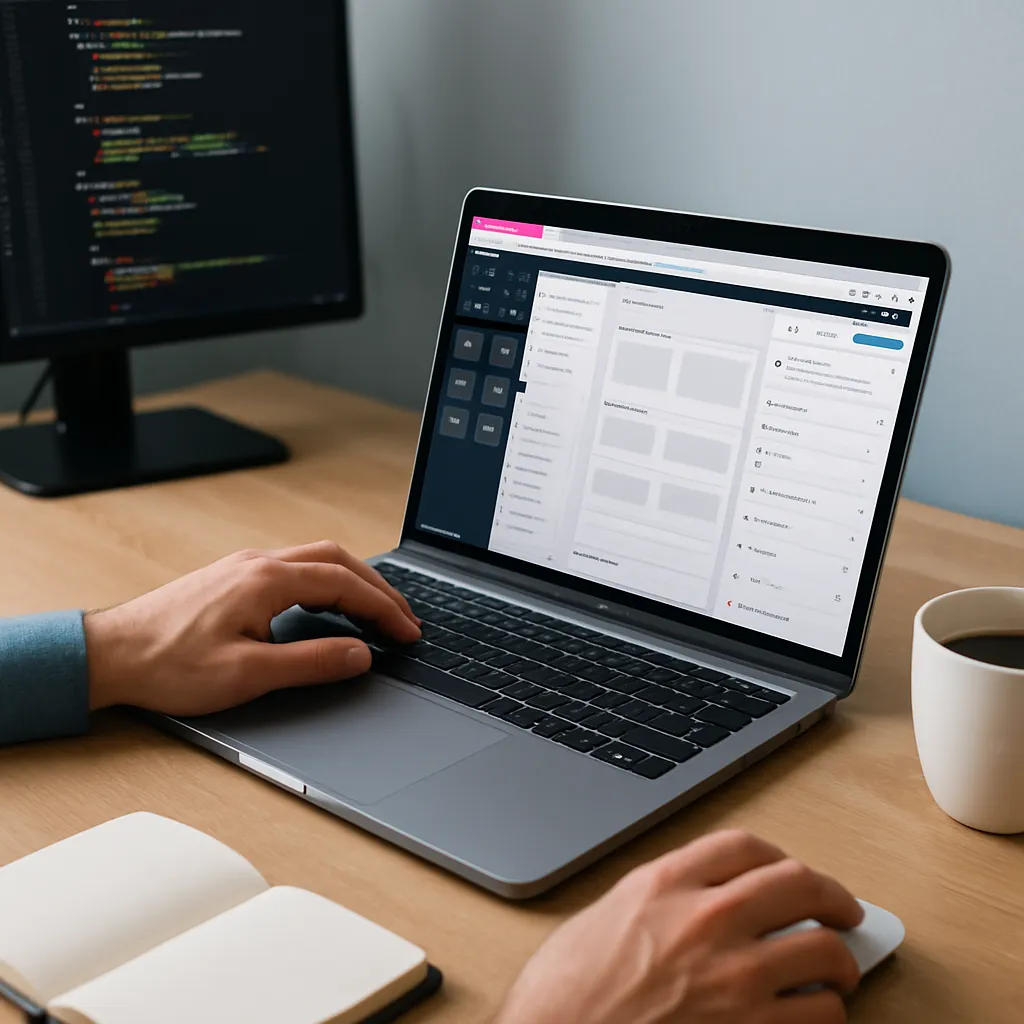
Building a unique page structure in WordPress no longer requires a custom theme or advanced PHP skills. With the right strategy, you can design pixel-perfect layouts, reuse them across your site, and keep everything easy to manage inside the dashboard. That’s exactly where a visual page builder becomes a game changer.
Understanding the Core Concepts of Elementor Layouts
Before you start dragging and dropping elements, it helps to understand how the layout system is organized. Elementor structures your content in three main layers:
- Sections – The top-level rows that span the width of your page.
- Columns – Vertical divisions inside each section that control horizontal alignment.
- Widgets – Actual content elements like headings, text, images, buttons, forms, and more.
Every custom design you create is essentially a combination of these three building blocks. Sections handle the overall page structure, columns manage grid-based layouts, and widgets bring the design to life.
Preparing Your Site for Custom Layouts
A bit of preparation will save you time and keep your design consistent as your site grows.
Install and Activate the Builder Plugin
In your dashboard, go to Plugins > Add New, search for the visual builder, install it, and click Activate. If you are using a Pro version, upload the premium plugin ZIP via the same screen and activate your license to unlock advanced features such as theme building, dynamic content, and additional widgets.
Choose a Compatible Theme
To get full control over your custom layout, use a lightweight theme that offers:
- Full-width and canvas page templates.
- Minimal default styling that doesn’t conflict with your design.
- Deep integration with the page builder (header, footer, hooks).
Popular options include modern, performance-focused themes that pair perfectly with visual builders and give you a clean slate for custom layouts.
Configure Global Design Settings
Instead of styling each widget individually, configure your global design options at the start:
- Set global colors (primary, secondary, text, accents).
- Define global typography (font families, sizes, weights for headings and body text).
- Customize default button appearance (radius, padding, colors).
These settings ensure consistency across all layouts and make it far easier to adjust your brand styling in the future.
Creating Your First Custom Page Layout
Once everything is in place, you can start building your first custom design.
Launch the Visual Editor
From your dashboard, go to Pages > Add New, give your page a name, set the template to full-width or canvas in the Page Attributes or Template panel, then click Edit with your builder. The live editor will open with a blank canvas.
Add a Hero Section
The hero section is often the first part of any custom layout. It’s where you deliver your main message and call to action.
- Click the Add New Section button and choose a single-column structure.
- In the section settings, set Content Width to boxed or full width depending on your design.
- Under the Style tab, add a background color, gradient, or image.
- Drag in a Heading widget, a Text Editor widget, and a Button widget.
- Adjust spacing with padding and margin to create generous whitespace.
With a few tweaks in the typography and color controls, you’ll have a polished hero area that sets the tone for the rest of the page.
Create Multi-Column Content Sections
Next, build sections that showcase your services, features, or content in columns.
- Add a new section and choose a two- or three-column structure.
- Set a contrasting background color or subtle pattern to differentiate it from the hero.
- Insert a Heading widget at the top for the section title.
- In each column, add Icon Box, Image, or Text widgets to present your content.
- Use the Alignment controls to keep everything visually balanced.
Multi-column designs are ideal for service offerings, features, benefits lists, or a visual overview of your products.
Add Visual Variety with Alternating Layouts
To avoid a monotonous layout, alternate between different structures:
- A two-column section with text on the left and an image on the right.
- The next section with the image on the left and text on the right.
- Full-width sections between them for testimonials or stats.
This simple technique keeps the page visually engaging and improves readability.
Using the Theme Builder for Site-Wide Layouts
Custom layouts don’t have to be limited to static pages. With theme building features, you can design templates that control how posts, archives, headers, and footers look across your site.
Design a Custom Header
A custom header lets you control your logo, navigation, and top bar elements without editing theme files.
- Open the theme builder from the plugin’s main menu.
- Create a new header template and launch the editor.
- Add a section with two or three columns.
- Insert a Site Logo widget, a Nav Menu widget, and optional elements like buttons or social icons.
- Set the header to sticky if you want it to stay visible while scrolling.
- Define the display conditions (e.g., entire site, specific pages, or post types).
This approach gives you total control over your navigation layout and style without touching PHP or theme files.
Create a Custom Footer
Footers are often overlooked, but they’re key for usability and conversions.
- In the theme builder, create a new footer template.
- Use multiple columns for links, contact information, forms, or a newsletter signup.
- Add widgets like Site Title, Menu, Icon List, and Social Icons.
- Apply the footer template to the entire site or specific areas.
Because you can reuse this template, any future updates to your footer layout will automatically propagate throughout the site.
Build Dynamic Single Post and Archive Layouts
Dynamic templates let you design the layout for posts, products, or custom post types using actual database fields.
- Create a Single template for posts or a specific post type.
- Use widgets like Post Title, Post Content, Featured Image, Post Meta, and Author Box.
- Arrange them visually, then assign the template to All Posts or to a particular category.
The same concept applies to archive pages, where you design how lists of posts or products appear and add filters, search elements, or custom loops.
Advanced Layout Techniques for Professionals
Once you’re comfortable with the basics, you can start using more advanced techniques to build refined, high-performing layouts.
Leverage Flexbox and Container-Based Layouts
Many modern versions of the builder introduce containers powered by flexbox, offering more control than traditional sections and columns:
- Nest containers inside each other for complex grids.
- Use flex-direction, justify-content, and align-items for precise alignment.
- Create equal-height columns and responsive row-to-column switches with fewer settings.
This reduces the need for extra sections and improves both performance and maintainability.
Use Global Widgets and Templates for Reuse
Any recurring layout element should be made reusable:
- Convert frequently used components (e.g., CTAs, contact blocks, pricing tables) into global widgets.
- Save full sections or pages as templates that you can insert anywhere.
- When you edit a global widget, the change updates across all instances, keeping everything consistent.
This drastically accelerates layout creation, especially on larger sites.
Work with Dynamic Content
Dynamic content turns your custom layout into a true template driven by data rather than static text.
- Connect widgets to custom fields from plugins like Advanced Custom Fields or Meta Box.
- Display unique data such as prices, ratings, locations, or authors without redesigning the layout.
- Use conditional visibility to show or hide elements based on user roles, field values, or device type.
These techniques are essential when building scalable, content-heavy sites that rely on structured data.
Optimizing Custom Layouts for Performance
Beautiful layouts are useless if they load slowly. Visual builders add some overhead, but you can mitigate it with best practices.
Use a Lean and Consistent Design System
Unnecessary variety in fonts, colors, and widget styles creates bloat:
- Limit the number of font families and weights.
- Rely on global colors and global typography rather than custom styles on each widget.
- Reuse sections and templates instead of creating new variations for every page.
This approach not only improves performance but also strengthens your brand identity.
Optimize Images and Media
Media is usually the heaviest part of a custom layout.
- Compress images before upload, and use modern formats like WebP where possible.
- Serve scaled images that match your layout dimensions.
- Enable lazy loading for images, videos, and background sections below the fold.
Combined with caching and a good hosting environment, these steps can dramatically reduce page load times.
Clean Up Unused Widgets and Add-ons
Avoid installing every add-on pack just because it’s available:
- Deactivate and remove plugins you don’t actively use.
- Prefer native widgets when possible instead of third-party alternatives.
- Regularly review your layout for redundant elements that can be simplified.
Keeping your stack lean helps both performance and long-term maintainability.
Improving Responsiveness Across Devices
A professional layout must adapt flawlessly to desktops, tablets, and mobile devices. The builder provides dedicated controls for each breakpoint.
Adjust Layout Per Device
Switch between device previews (desktop, tablet, mobile) in the editor and fine-tune:
- Typography sizes and line heights.
- Column widths and stacking behavior.
- Margins, padding, and alignment to prevent cramped or overflowing content.
Test your custom design on real devices when possible to confirm that it looks and feels right beyond the editor preview.
Control Element Visibility
Not every element needs to appear on every device:
- Hide complex sections or background videos on mobile to reduce clutter and loading time.
- Show simplified versions of CTAs or navigation for smaller screens.
- Use device-specific settings in the Advanced tab of each widget or section.
This allows you to prioritize clarity and usability without sacrificing creative layouts.
Practical Layout Ideas You Can Reuse
If you’re looking for inspiration, here are some practical layout patterns that work well for most sites.
Service or Product Landing Page
- Hero section with headline, supporting text, and primary CTA.
- Feature grid using three or four columns with icons and brief descriptions.
- Social proof section with testimonials or client logos.
- Pricing layout with cards and highlighted recommended plan.
- FAQ using toggle or accordion widgets.
- Final CTA section that reiterates the main action you want users to take.
Content-Rich Blog Layout
- Custom blog archive with a grid or masonry layout for posts.
- Sidebar with categories, search, and recent posts (or a completely full-width, distraction-free layout).
- Single post template with a strong hero image, author box, and related posts section.
Portfolio or Case Study Page
- Filterable project grid using a portfolio widget or posts from a custom post type.
- Individual project templates showing images, description, results, and client feedback.
- Contact or booking section to convert visitors after they review your work.
All of these can be built visually and then saved as templates to shorten development time on future projects.
Conclusion
Custom layouts in WordPress no longer belong exclusively to theme developers. With a modern page builder, you can design unique page structures, dynamic templates, and reusable components directly from the dashboard, without hand-coding templates in PHP. The key is to understand the layout hierarchy, plan your global styles, leverage theme-building features, and keep performance in mind as you design.
As you refine your workflow, you’ll find that combining global settings, reusable templates, and dynamic content transforms the builder from a simple page designer into a robust layout system. That’s when creating consistent, scalable designs across an entire site becomes not only possible, but efficient and enjoyable.
I’ve been leading Grafiduo since 2010 as the CEO. Together with my development team, I create e-commerce solutions, websites, and digital designs that combine functionality with aesthetics. I focus mainly on WordPress, WooCommerce, and Prestashop, helping businesses grow through well-crafted online experiences.

