
How to Fix Briefly Unavailable for Scheduled Maintenance Error in WordPress
Seeing a white screen with the message “Briefly unavailable for scheduled maintenance. Check back in a minute.” can be alarming, especially when it refuses to go...

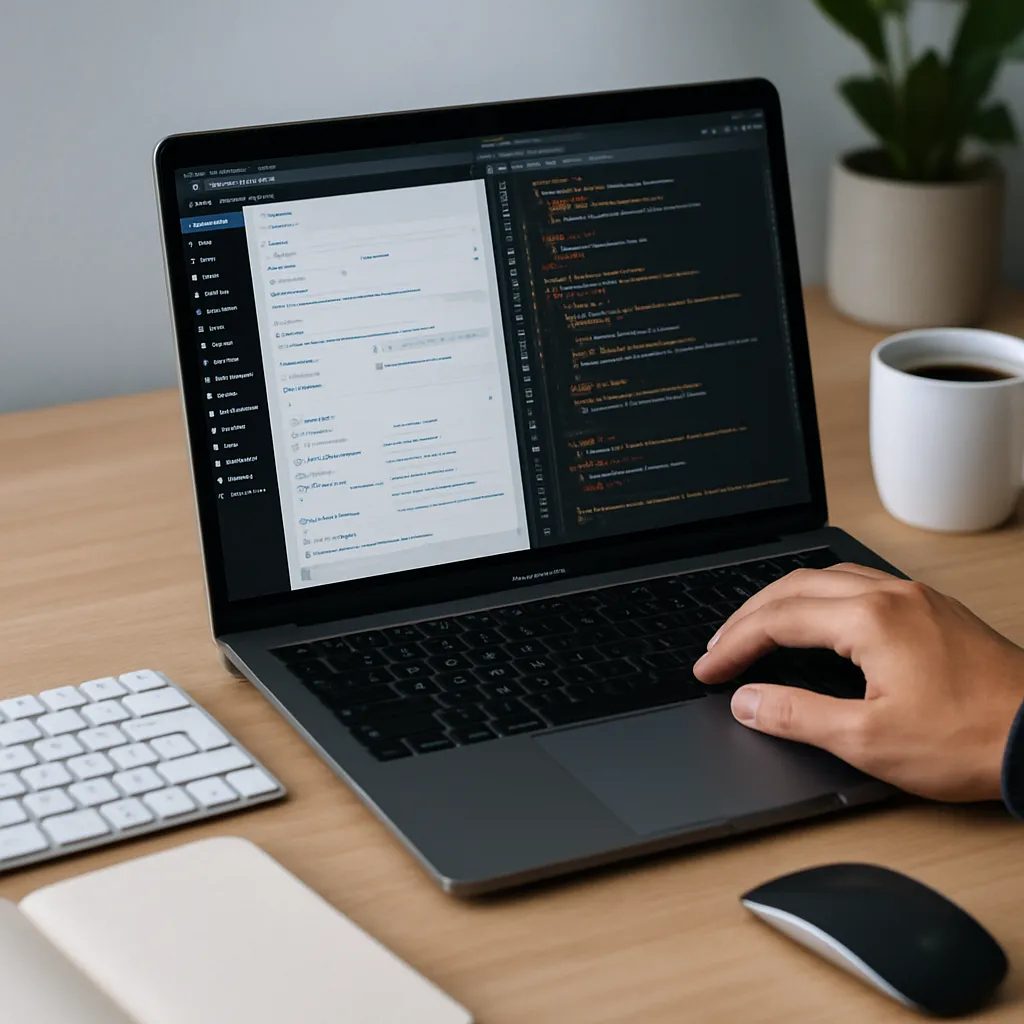
 Content entirely generated by artificial intelligenceThis content was entirely generated by artificial intelligence, with no human element (other than the prompt).
Seeing a white screen with the message “Briefly unavailable for scheduled maintenance. Check back in a minute.” can be alarming, especially when it refuses to go away. This notice usually appears when you update core files, themes, or plugins. Most of the time it clears automatically, but when something interrupts the process, your site can get stuck in this state indefinitely. The good news is that fixing it is straightforward once you understand what’s happening behind the scenes.
What This Maintenance Message Really Means
When you run updates from the WordPress dashboard, the system temporarily puts your site into maintenance mode. It does this by creating a small file called .maintenance in the root directory of your installation. As long as this file exists, visitors see the “briefly unavailable for scheduled maintenance” error instead of your site.
Under normal circumstances, WordPress removes the file when the updates are finished. If the process is interrupted — for example, by a slow server, insufficient memory, or a timeout — the file remains and your site is effectively locked in maintenance mode.
Common Causes of the Maintenance Mode Error
Several factors can prevent your site from exiting maintenance correctly. Understanding them helps you fix the issue and avoid it in the future.
- Interrupted updates: Closing the browser tab, losing internet connection, or hitting the back button while updates are running.
- Server timeouts: Slow or overloaded hosting can cause scripts to time out before WordPress can finish its tasks.
- Large or multiple updates: Running many plugin or theme updates at once, or updating heavy plugins, increases the chance of problems.
- Insufficient PHP resources: Low memory limits or strict execution time settings can abruptly halt the update process.
- File permission issues: Incorrect permissions on core files and folders can prevent WordPress from modifying or deleting the .maintenance file.
How to Quickly Fix the Maintenance Mode Stuck Issue
The fastest and most reliable way to solve this problem is to manually remove the .maintenance file from your site’s root folder. There are a few different ways to do this, depending on how you access your hosting environment.
Step 1: Connect to Your Website Files
You can use one of the following methods to access your WordPress files:
- cPanel File Manager: If your host uses cPanel, log in to your hosting account and open File Manager. Then navigate to the folder where WordPress is installed (often public_html).
- Hosting File Manager: Many managed hosts provide a browser-based file manager in their custom dashboards.
- FTP/SFTP client: Use software like FileZilla or Cyberduck. Obtain your FTP or SFTP credentials from your host, connect, and open your site’s root directory.
The root directory is the folder that contains subfolders like wp-admin, wp-content, and wp-includes.
Step 2: Locate the .maintenance File
Once you are in the root directory of your WordPress site, look for a file named .maintenance. Note that:
- It may be hidden by default. In cPanel File Manager, use the settings or preferences option to show hidden files (often labeled as “Show Hidden Files (dotfiles)”).
- In FTP clients, make sure “Show hidden files” or “Force showing hidden files” is enabled in the preferences.
Step 3: Delete the .maintenance File
After you locate the file:
- Right-click on .maintenance and choose “Delete” in File Manager, or
- Right-click and choose “Delete” or “Remove” in your FTP client.
Once the file is removed, visit your site in a new browser tab or refresh the page. In most cases, the “briefly unavailable for scheduled maintenance” error should disappear immediately and your site will load normally again.
What If the Error Persists?
If you have deleted the .maintenance file but the notice still appears, there are a few more checks to perform.
1. Clear Caches
Sometimes the maintenance message is cached and continues to display even though the site is back up. Clear all layers of caching that might affect your site:
- Browser cache: Hard refresh the page (for example, Ctrl+F5 on Windows or Cmd+Shift+R on macOS) or clear recent history.
- WordPress caching plugins: If you use a caching plugin, log in to the dashboard and clear or purge the cache from that plugin’s settings.
- Server-level cache: Managed hosts often provide object or page caching. Use your hosting panel to purge these caches if available.
- CDN cache: If you use services like Cloudflare or another CDN, log in and purge the cache.
2. Re-upload Core Files (Advanced)
If updates failed mid-process, some WordPress core files may be corrupt or incomplete. This can cause unexpected behavior, including lingering maintenance issues.
- Download the latest version of WordPress from the official site.
- Extract the archive on your computer.
- Using FTP/SFTP, upload the wp-admin and wp-includes folders from your local copy to your server, overwriting the existing folders.
- Do not overwrite your wp-content folder or wp-config.php file to avoid losing customizations and uploaded content.
After uploading, revisit your site to confirm that the maintenance message is gone.
3. Check for Plugin or Theme Conflicts
Occasionally, a specific plugin or theme can trigger errors during updates that prevent WordPress from fully exiting maintenance.
- Connect via FTP or your file manager.
- Navigate to wp-content/plugins.
- Temporarily rename the folder of the plugin you were updating when the error occurred (for example, change plugin-name to plugin-name-disabled).
- If you suspect a theme issue, navigate to wp-content/themes and temporarily switch themes by renaming the active theme’s folder. WordPress will automatically fall back to a default theme if one is installed.
Then log in to your dashboard and check if the problem is resolved. If so, you can investigate the specific extension further or reinstall it.
How to Prevent the Maintenance Error in the Future
While manually removing the .maintenance file solves the immediate problem, it is better to minimize the risk of it happening again. There are a few practical practices you can adopt.
1. Update in Smaller Batches
Instead of updating everything at once, split your updates:
- Run WordPress core updates separately.
- Update your active theme on its own.
- Update a few plugins at a time rather than all of them at once, especially resource-heavy plugins like security, backup, or page builder tools.
This approach reduces server load and makes it easier to pinpoint which update caused trouble if something goes wrong.
2. Avoid Closing the Browser During Updates
When you start an update from the dashboard, let the process complete before navigating away or closing your browser tab. Interrupting the page load can sometimes cut off the update script prematurely.
3. Ensure Adequate Hosting Resources
Persistent maintenance errors can be a sign your hosting environment is underpowered for your site’s size and traffic. Consider:
- Increasing PHP memory limit and maximum execution time via php.ini, .htaccess, or hosting settings (if permitted).
- Upgrading from basic shared hosting to a more robust plan, VPS, or managed WordPress hosting if performance is consistently sluggish.
- Monitoring server resource usage to identify spikes during updates.
4. Keep Regular Backups
Reliable backups won’t directly stop maintenance mode from appearing, but they protect you if an update corrupts files or the database. Use:
- A reputable backup plugin with automated schedules.
- Hosting-level or external backups stored off-site.
With a recent backup, you can always roll back your site to a working state if updates fail catastrophically.
5. Use Staging Environments for Major Changes
For large sites or critical applications, performing updates directly on the live site is risky. Managed WordPress hosts often provide a staging environment where you can:
- Clone your live site into a test environment.
- Run WordPress core, theme, and plugin updates safely.
- Verify everything works correctly before pushing changes to production.
This setup greatly reduces the chances that visitors will ever see maintenance-related errors.
Advanced Tip: Programmatically Clear Maintenance Mode
If you routinely manage many sites, you might prefer an automated safeguard in case maintenance mode doesn’t clear properly. One approach is to use a small custom script or a must-use (MU) plugin that checks for an outdated .maintenance file and removes it after a certain time.
The concept is simple: when the site loads, the script looks for the maintenance file and checks its timestamp. If the file is older than a safe threshold (for example, 10–15 minutes), the script deletes it. This is an advanced technique and must be implemented carefully, but it can be helpful for agencies or developers who oversee many installations.
When to Contact Your Hosting Provider
While most cases of the “briefly unavailable for scheduled maintenance” message are easy to resolve manually, there are situations where you should involve your host:
- You cannot find or delete the .maintenance file due to permission restrictions.
- File changes do not seem to take effect, even after clearing all caches.
- Updates fail repeatedly with server error messages or timeouts in your logs.
- Your control panel or file manager is not accessible.
In those circumstances, your provider can help adjust file permissions, review error logs, or temporarily increase server resources to allow updates to complete successfully.
Conclusion
The “briefly unavailable for scheduled maintenance” notice is a normal part of the update process, but when it gets stuck it can make your site appear offline and cause unnecessary panic. By understanding that this behavior is controlled by a simple .maintenance file, you can quickly regain access through FTP or your hosting file manager.
Once you have removed the file and cleared your caches, the next step is to harden your update workflow: apply updates in smaller batches, avoid interrupting the process, maintain adequate hosting resources, and test significant changes on a staging environment. With these habits in place, you will drastically reduce the chances of seeing this maintenance error again and keep your WordPress site running smoothly and reliably for your visitors.

I’ve been leading Grafiduo since 2010 as the CEO. Together with my development team, I create e-commerce solutions, websites, and digital designs that combine functionality with aesthetics. I focus mainly on WordPress, WooCommerce, and Prestashop, helping businesses grow through well-crafted online experiences.
 Content entirely generated by artificial intelligenceThis content was entirely generated by artificial intelligence, with no human element (other than the prompt).
How to Create Custom Login Page for WordPress
 Content entirely generated by artificial intelligenceThis content was entirely generated by artificial intelligence, with no human element (other than the prompt).
How to Move a Site from WordPress Multisite to Single Install