How to Fix Common Image Issues in WordPress
Images are one of the most powerful assets on any site built with WordPress, but they’re also a frequent source of frustration. From blurry photos and slow-loading pages to mysterious upload errors, image issues can affect performance, accessibility, and even search visibility. The good news: most of these problems are straightforward to diagnose and fix when you know where to look.
Table of contents
Common Image Problems in WordPress and Their Root Causes
Before diving into specific fixes, it helps to understand why image problems appear in the first place. In WordPress, issues usually stem from one or more of the following:
- Incorrect file permissions on the server
- Hosting limits (PHP memory, file size restrictions, or disk space)
- Theme or plugin conflicts that modify how images are handled
- Wrong media settings or image sizes in the admin area
- Broken URLs from migrations or changes in domain/URL structure
- Caching or CDN configuration serving outdated or missing files
With that in mind, let’s walk through the most common issues step by step and cover practical, repeatable solutions.
Image Upload Errors in the Media Library
One of the first problems many site owners encounter is not being able to upload images at all. You might see messages like “HTTP error,” “Upload failed,” or the file simply never appears in the media library.
Check Maximum Upload File Size
If you try to upload high-resolution photos or large graphics, your hosting environment might block them.
- Go to Media > Add New in the dashboard.
- Look for the “Maximum upload file size” note below the upload area.
- If your image exceeds this limit, either compress it or increase the limit.
To increase the limit, you can:
- Ask your hosting provider to raise the PHP upload_max_filesize and post_max_size.
- Add or edit a
php.ini(if allowed) with values like:upload_max_filesize = 64Mpost_max_size = 64Mmemory_limit = 128M
- Use
.htaccessrules on Apache servers as a fallback.
Resolve the Generic HTTP Error
The “HTTP error” message when uploading often indicates a temporary server limit or a conflict with image processing libraries.
- Disable plugins temporarily (especially image optimization, security, and CDN tools) and test the upload again.
- Switch to a default theme like Twenty Twenty-Four to see if the problem is theme-related.
- Ensure your site runs a modern PHP version recommended by WordPress and your host.
If uploads suddenly start working again after deactivating a particular plugin, you’ve identified the conflict. Check that plugin’s settings or look for an update or alternative.
Fix File Permissions for the Uploads Folder
Incorrect file permissions can stop images from being written to the server. WordPress stores media under wp-content/uploads/, organized by year and month.
- Connect via FTP or your host’s file manager.
- Locate the wp-content/uploads directory.
- Set folder permissions to 755 and files to 644.
After updating permissions, try uploading an image again. If it works, you’ve resolved a common server-side configuration problem.
Images Not Displaying on the Front End
Sometimes images appear correctly in the media library but don’t show up on pages or posts. You might see broken thumbnails, empty spaces, or placeholders instead of pictures.
Confirm Image URLs Are Correct
Broken links are especially common after a site migration or when switching from HTTP to HTTPS.
- Edit a post with a missing image in the block editor.
- Select the image block and check the URL under the block settings.
- Make sure it points to your current domain and correct path under
wp-content/uploads.
If the site was moved or the URL structure changed, run a database search-and-replace using a reliable tool to update old URLs throughout the content.
Check for Hotlink Protection or Security Rules
Security plugins, firewall rules, or your hosting panel might be blocking direct access to image files, displaying a forbidden error or nothing at all.
- Disable hotlink protection temporarily and reload a page with images.
- Check .htaccess or server rules that may restrict access to certain file types.
- Ensure security plugins are not blocking image directories.
Verify CDN and Caching Configuration
Content delivery networks and aggressive caching can serve outdated or incorrect image URLs.
- Purge your CDN cache completely.
- Clear caching plugin caches (page, object, and browser caches where applicable).
- Disable image proxy or lazy load features temporarily to troubleshoot.
If images appear correctly while the CDN is disabled, double-check your CDN’s URL rewrite rules and ensure that the uploads directory is being mirrored properly.
Images Displaying Too Large, Too Small, or Distorted
Layout and design issues with images are often linked to the theme, block settings, or incorrectly defined image sizes.
Use the Correct Image Size in Blocks
When you insert an image in the block editor, WordPress lets you choose from various sizes: thumbnail, medium, large, and full size, as well as any custom sizes registered by your theme or plugins.
- Select the image block in the editor.
- In the right-hand sidebar under Image size, test different preset sizes.
- Use the Scale and Dimensions fields to fine-tune width and height while respecting aspect ratio.
Avoid manually stretching images beyond their original dimensions, which can cause blurriness and distortion.
Review Theme Layout and Responsive Behavior
Modern themes rely heavily on responsive design. Sometimes, a specific block pattern or column layout constrains images in unexpected ways.
- Preview posts on multiple devices (desktop, tablet, mobile) using the block editor’s preview tools.
- Test with a default theme to see whether a custom or page-builder theme is the source of the problem.
- In group, column, or cover blocks, adjust the width, alignment, and aspect ratio settings.
If issues only appear with a certain block or pattern, adjust that specific layout instead of editing all images globally.
Regenerate Thumbnails After Changing Image Sizes
When you modify image size settings in Settings > Media or switch themes, WordPress does not automatically create new sizes for existing uploads. As a result, images may appear pixelated or improperly scaled.
- Install a thumbnail regeneration plugin from the official directory.
- Run a regeneration process for all existing media files.
- Clear caches and reload the affected pages.
This process generates new image files according to your current size definitions, aligning old uploads with your updated design.
Slow Loading Images and Performance Issues
Unoptimized images are one of the most common reasons for slow loading pages and poor user experience in WordPress. Search engines increasingly consider loading speed and core web vitals in their rankings, so image performance is critical for SEO.
Optimize Image File Size Before Upload
Start by preparing images before they ever reach the media library:
- Resize images to realistic dimensions. A hero banner might need 1920px width, but a small icon certainly doesn’t.
- Compress images with tools like desktop optimizers or online compressors.
- Choose appropriate formats:
- JPEG for photographs and complex gradients.
- PNG for logos, icons, and transparency.
- SVG for simple, scalable vector graphics (where supported and secured).
- WebP for modern browsers to balance quality and size.
Use an Image Optimization Plugin
Automation helps when you manage a large media library or multi-author site. Many optimization plugins can:
- Compress images on upload.
- Convert files to WebP while keeping your original formats as fallback.
- Resize large uploads to maximum dimensions you specify.
- Bulk optimize existing images already in your library.
After enabling such a plugin, run a bulk optimization process, then re-check key pages in performance testing tools to measure improvement.
Leverage Lazy Loading for Better Perceived Speed
Lazy loading delays the loading of images until they are about to scroll into view. Core WordPress includes lazy loading by default for standard image tags.
- Ensure that your theme and plugins are not disabling native lazy load attributes.
- Avoid stacking multiple lazy load solutions, which can conflict and cause images not to appear.
- Test on mobile devices and older browsers to confirm compatibility.
Proper lazy loading significantly reduces initial page weight and speeds up above-the-fold content.
Blurry or Pixelated Images in WordPress
Blurry or fuzzy images make a site look unprofessional, especially on retina and high-density screens. This usually happens when low-resolution files are stretched or when compression is too aggressive.
Match Display Size to Original Resolution
Avoid scaling small images to fill large spaces.
- Check the original dimensions in the media library attachment details.
- Compare them to the display size used in your block, column, or slider.
- Replace undersized images with higher-resolution versions where necessary.
As a rule of thumb, aim for at least 2x the size of the display area on high-density screens if you want crisp visuals.
Reduce Over-Compression
Overly compressed JPEGs will show artifacts and softness.
- Adjust the compression level in your image optimization plugin to a more balanced setting.
- Re-upload a higher-quality source image if artifacting is already baked in.
- For logos and sharp graphics, consider PNG or SVG instead of heavily compressed JPEG.
Finding the right balance between quality and size might require a few tests, but the visual payoff is significant.
Images Missing After Moving or Cloning a Site
When you migrate WordPress to a new domain, switch from a staging environment to production, or restore a backup, images are sometimes missing or paths are broken.
Confirm the Uploads Folder Is Fully Copied
A partial transfer of the wp-content/uploads directory is one of the most common causes.
- Inspect the
wp-content/uploadsdirectory on the new server. - Compare it with your source environment to ensure all year/month folders and files exist.
- Re-upload any missing directories or files using FTP or your hosting file manager.
Update URLs After a Domain Change
Internal references in the database often still point to the old domain or path, which breaks images even if files are present.
- Use a safe search-and-replace tool to change old URLs (e.g.,
http://oldsite.com) to the new domain (e.g.,https://newsite.com). - Update both HTTP/HTTPS differences and any subdirectory changes (for example,
/blogto root). - Regenerate thumbnails if paths or sizes changed with the new environment.
Always back up the database before running global replacements to avoid data corruption.
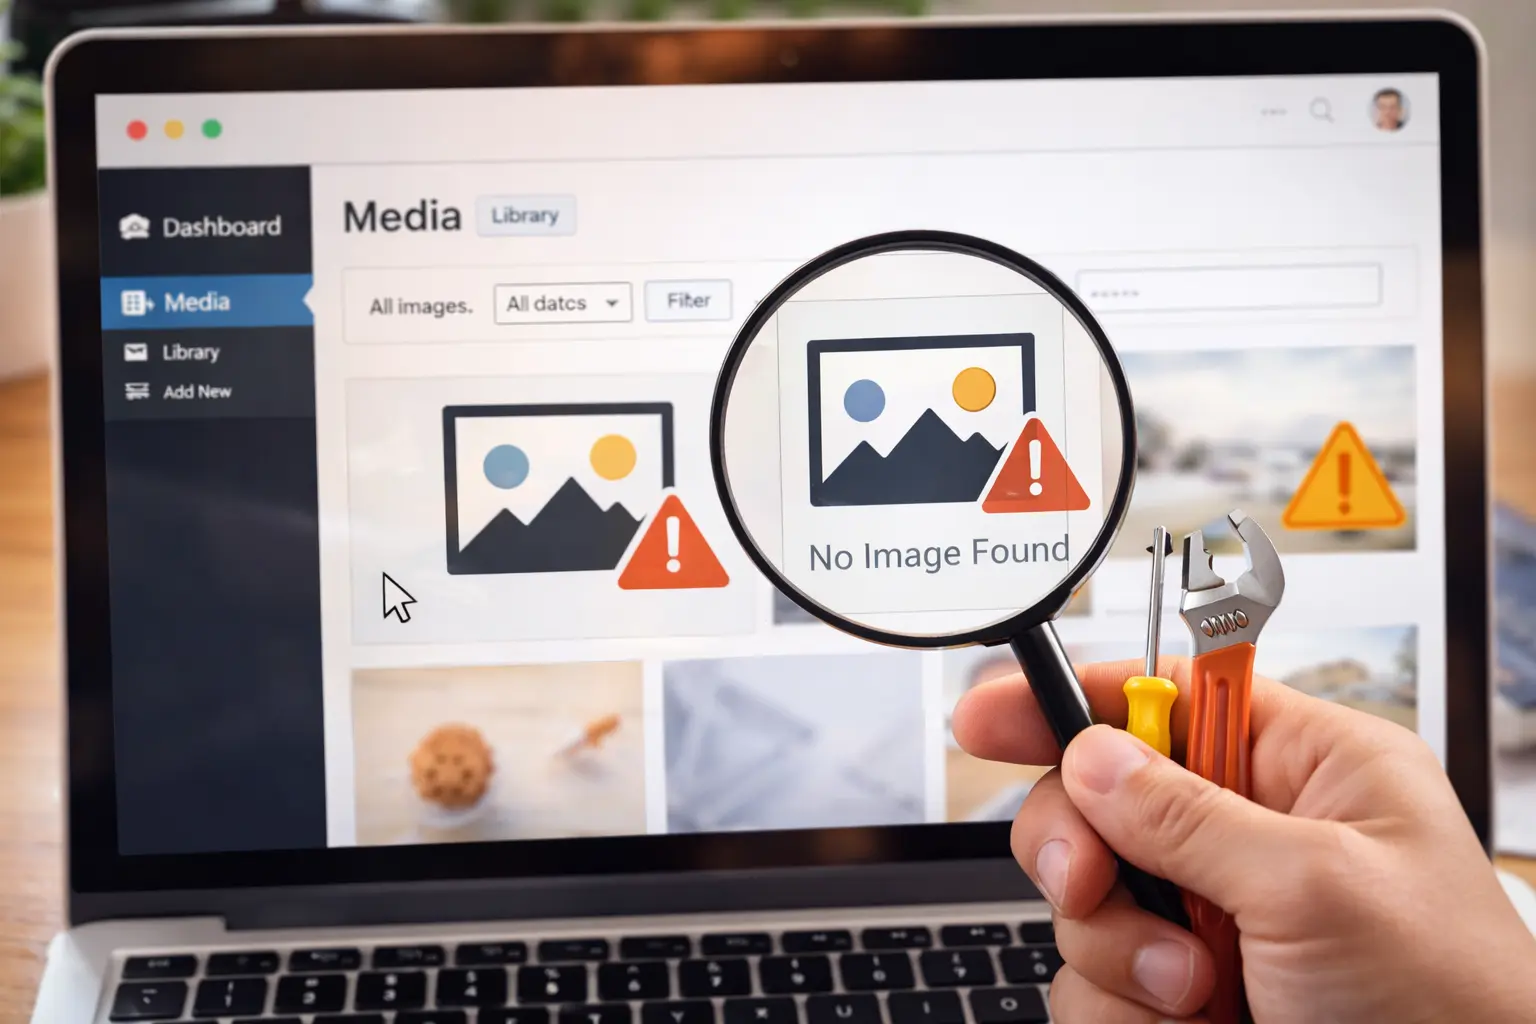
Broken Thumbnails and Media Library Display Issues
Sometimes the media library itself shows broken thumbnails or empty boxes, even though the full-size images still exist when viewed directly.
Regenerate Image Sizes
Missing or incomplete image sizes can prevent thumbnails from appearing correctly.
- Install a thumbnail regeneration tool from the plugin directory.
- Run a full regeneration process on all images.
- Refresh the media library and check whether thumbnails now render.
Check for Memory or Timeout Limits
On sites with large libraries, generating thumbnails can hit PHP memory or execution time limits.
- Increase PHP memory_limit and max_execution_time via your hosting control panel or
php.ini. - Regenerate thumbnails in smaller batches instead of the entire library at once.
- Monitor server logs for errors indicating memory or timeouts.
Once resource constraints are addressed, repeat the regeneration and confirm thumbnails load correctly.
Alt Text, Titles, and Image SEO
Beyond technical issues, poor image SEO can limit your visibility in search results and make your site less accessible. Fixing text-based attributes is one of the simplest improvements you can make.
Write Descriptive Alt Text
Alt attributes describe images to users who cannot see them and to search engines that use textual cues to understand your content.
- Avoid keyword stuffing; focus on clear, accurate descriptions.
- Describe the subject, context, or function of the image.
- For decorative images that add no meaning, leave alt empty to avoid noise for screen readers.
Edit alt text directly in the media library or within the block editor for each image block. Over time, this improves accessibility and can enhance rankings in image search results.
Use Clear File Names and Captions
File names and captions also contribute to how images are understood.
- Rename uploads to something meaningful, like
wordpress-dashboard-media-settings.jpgrather thanIMG_1234.jpg. - Use concise captions when they add value for readers (e.g., explaining a screenshot or diagram).
- Keep titles and descriptions relevant to the content of the page.
These simple adjustments provide additional context for both users and search engines, reinforcing your overall content strategy.
Preventing Future Image Problems in WordPress
Once you’ve fixed existing issues, it’s wise to put a sustainable workflow in place so the same problems don’t return.
Set Clear Media Guidelines for Your Site
If multiple editors or authors upload assets, define a consistent process.
- Specify maximum dimensions for blog images, featured images, and hero sections.
- Provide basic training on resizing and compressing images before upload.
- Document naming conventions and alt text best practices.
When everyone follows the same rules, your media library stays organized and your site remains performant over time.
Review Media Settings and Clean Up Regularly
Over the life of a site, media settings and theme changes can create unused sizes and clutter.
- Audit Settings > Media periodically to ensure sizes are still relevant.
- Remove unnecessary custom image sizes registered by old themes or plugins.
- Use tools to identify and clean up unused images where appropriate.
Lean, well-structured media libraries are easier to back up, migrate, and maintain.
Conclusion
Image issues in WordPress can surface in many forms—failed uploads, broken thumbnails, slow loading times, distorted layouts, and missing files after migrations. Yet almost all of these problems can be traced back to a set of predictable causes: server limits, incorrect permissions, configuration conflicts, and unoptimized assets.
By systematically checking upload limits, file permissions, URLs, caching layers, and theme settings, you can resolve most image errors quickly. Combine these technical fixes with a solid workflow for optimization, alt text, and consistent sizing, and your site will benefit from faster performance, better accessibility, and stronger search visibility.
Treat image management as part of your overall WordPress maintenance routine, not as an afterthought. When images are handled correctly from the start, you avoid many headaches and present a more polished, professional experience for every visitor.