How to Reset Your WordPress Database to Default Settings
Sometimes a project goes so far off track that starting fresh is the most efficient solution. When that project runs on WordPress, resetting the database back...
Sometimes a project goes so far off track that starting fresh is the most efficient solution. When that project runs on WordPress, resetting the database back to a clean, default state can be the fastest way to eliminate clutter, conflicts, and hard-to-trace bugs. However, because the database stores almost everything that makes your site what it is, you must approach a reset carefully and methodically.
What a WordPress Database Reset Actually Does
Before touching anything, it’s crucial to understand what “resetting to default settings” means in the context of a WordPress database.
By default, WordPress stores its content and configuration in a set of core tables, typically prefixed with wp_ (or a custom prefix you chose during installation). These tables hold:
- Posts and pages – Published posts, drafts, custom post types, and revisions.
- Taxonomies – Categories, tags, and custom taxonomies.
- Users and roles – User accounts, roles, and capabilities.
- Comments – Comments, pingbacks, and trackbacks.
- Options – Site URL, home URL, settings from core, themes, and plugins.
- Meta data – Post meta, user meta, and term meta.
Resetting the database to default essentially means:
- Removing all existing content (posts, pages, media references, comments, taxonomies).
- Clearing or recreating core tables to match a brand-new installation.
- Resetting configuration stored in the database to its initial state.
Files in wp-content (themes, plugins, uploads) are not part of the database and are not automatically removed by a database reset. To fully “start over,” you may need to address both the database and the filesystem separately.
When You Should (and Shouldn’t) Reset Your Database
A full reset is a powerful but destructive operation. Use it when it solves more problems than it creates.
Common Scenarios Where a Reset Makes Sense
- Local development and staging cleanup – After experimenting with multiple plugins or themes, your test environment may be full of orphaned options and sample content.
- Rebuilding a site from scratch – If you are redesigning a site and none of the existing content or configuration is needed, a reset can provide a clean slate.
- Theme or plugin development – Developers often reset test installations frequently to verify install routines, onboarding flows, and default options.
- Training and demos – Training sites or demo instances can be wiped regularly to bring them back to a known default state.
Situations Where a Reset Is Overkill
- Minor configuration issues – Many problems can be resolved by deactivating plugins, switching themes, or adjusting specific settings.
- Content or SEO problems – If you need to reorganize content or fix search optimization issues, you usually don’t want to delete your entire database.
- Security incidents – After a hack, a reset can help, but you also need to address file-level backdoors, user passwords, and hosting-level vulnerabilities.
As a rule of thumb: if you still value your existing posts, pages, or user data, consider alternatives to a full reset, such as selective table cleanup or using migration/cleanup plugins.
Essential Preparations Before You Reset
Because this operation is irreversible without a backup, preparation is everything. Even experienced developers make mistakes; your backup is your safety net.
Create a Complete Backup
Always back up both:
- Database – Using your hosting panel (phpMyAdmin, Adminer, or a similar tool) or a backup plugin.
- Files – At minimum, back up
wp-config.php,.htaccess, and thewp-contentdirectory (themes, plugins, uploads).
Store the backup in a separate location (e.g., your local machine or cloud storage). This allows you to roll back quickly if the reset doesn’t go as planned or if you realize you deleted data you still needed.
Confirm Environment and Access Details
Verify the following before making changes:
- Environment type – Triple-check that you’re working on a development or staging site, not production, unless a reset on live is intentional.
- Database credentials – Confirm host, database name, user, and table prefix from
wp-config.php. - Admin access – Ensure you can log in as an administrator; after a reset, you may need to recreate the admin account.
Clarify Your Reset Scope
Decide up front what you want to reset:
- Full core table reset – Mimics a fresh WordPress install, removing all content and settings.
- Selective cleanup – For example, only clearing posts, comments, or options related to certain plugins.
- Multi-site considerations – Network installations have additional tables per site and for the network overall. Know whether you’re resetting a single site within the network or the entire network.
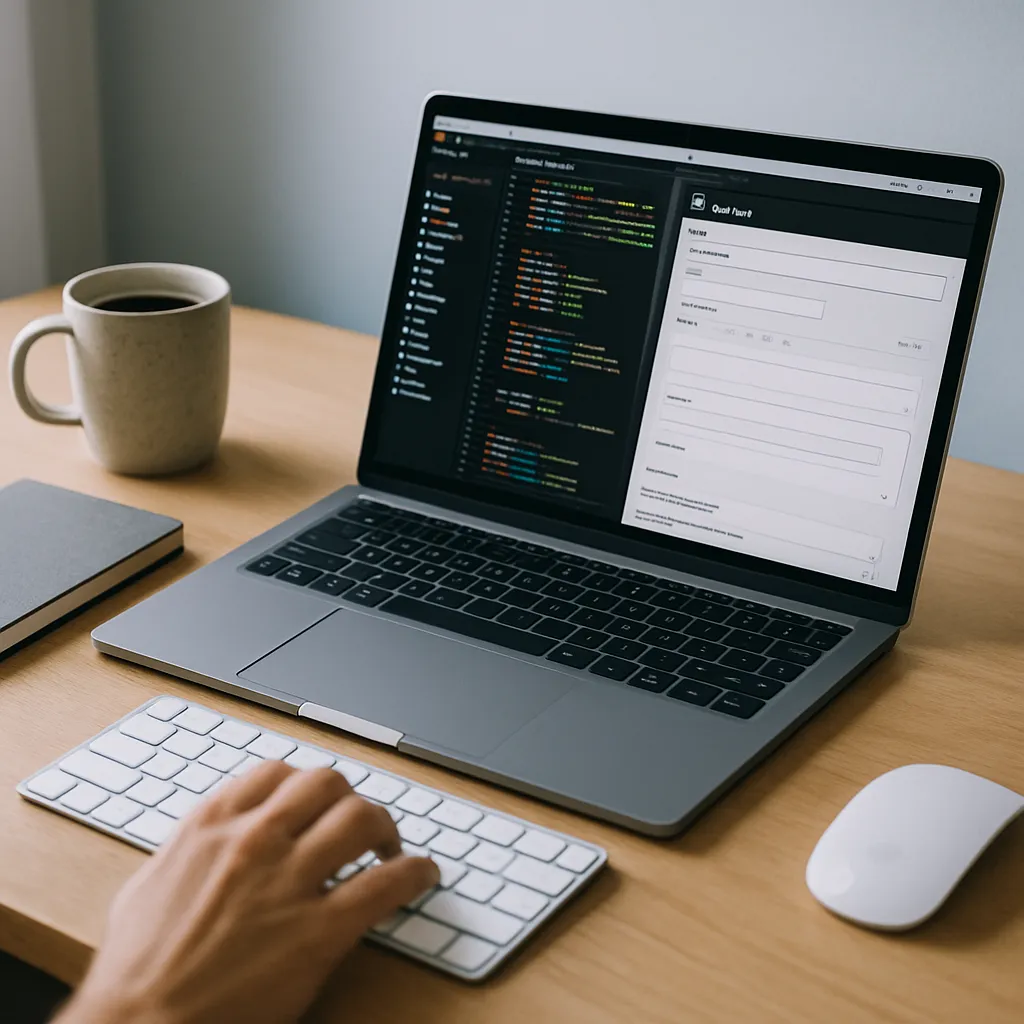
Method 1: Resetting with a Dedicated Plugin
For most users, the safest and fastest approach is to use a specialized reset plugin. These tools automate the process and reduce the risk of accidentally dropping the wrong tables.
Advantages of Using a Plugin
- Guided workflow – Step-by-step prompts help avoid common mistakes.
- Selective resets – Many tools allow you to reset only specific data sets (like content or transients).
- Automatic re-login – After the reset, you’re often logged back in with the same admin user.
- Optional demo content – Some plugins can generate sample posts and pages after the reset.
General Plugin-Based Reset Workflow
While individual interfaces differ, the process typically looks like this:
- Install and activate the reset plugin from the Plugins menu.
- Open the plugin’s settings page under Tools or a similarly labeled menu.
- Review reset options, such as:
- Reset the entire database to default.
- Delete or keep specific data: themes, plugins, uploads, users.
- Recreate basic content or keep certain configuration values.
- Confirm what will be removed. Many tools display a detailed list of affected data.
- Type a confirmation phrase (e.g., “reset”) and click the reset button.
- Wait for the process to complete. When finished, you’ll be redirected to the dashboard of the freshly reset installation.
After the reset, WordPress behaves as if it were just installed, though your actual core files and wp-content directory remain unchanged unless you chose options to remove them as well.
Method 2: Manual Database Reset via phpMyAdmin
If you prefer not to rely on a plugin or you’re unable to log in to the dashboard, you can reset the database directly from your hosting control panel. This method requires more technical confidence but provides full control.
Step 1: Log In to Your Database Management Tool
Most hosting providers offer phpMyAdmin, Adminer, or a similar tool:
- Log in to your hosting control panel (e.g., cPanel, Plesk, or a custom panel).
- Locate and open phpMyAdmin or your database manager.
- Select the correct database from the left-hand sidebar. You can confirm the name from
wp-config.phpunderDB_NAME.
Step 2: Identify Your WordPress Tables
WordPress tables usually share a common prefix. For example, with the default prefix, you may see tables such as:
wp_postswp_postmetawp_userswp_usermetawp_terms,wp_term_taxonomy,wp_term_relationshipswp_optionswp_comments,wp_commentmeta
If you set a custom prefix during installation, such as wpabc_, look for tables named accordingly.
Step 3: Drop Existing Tables
There are two common approaches: dropping only the WordPress tables or dropping the entire database and recreating it.
Option A: Drop Only WordPress Tables
- In phpMyAdmin, click the Check all box to select all tables in the database.
- From the dropdown menu, choose Drop.
- Confirm the operation when prompted. This deletes all selected tables but leaves the database itself intact.
This is often the safest option when other applications share the same database and use different table prefixes.
Option B: Drop and Recreate the Entire Database
If the database is dedicated solely to this WordPress site, you may choose to remove and recreate it completely:
- In your hosting panel, locate the database management section.
- Delete the database associated with your site.
- Create a new database with the same name (or a different name if you plan to update
wp-config.phpaccordingly). - Reassign the same database user with the appropriate privileges.
This approach removes everything, including any stray tables left from previous installations that did not use the WordPress prefix.
Step 4: Run the WordPress Installation Script
Once your tables are gone, visiting the site URL should trigger the standard installation process.
- Open your site in a browser.
- If WordPress core files and
wp-config.phpare still present, you’ll see the installation screen. - Fill out:
- Site title
- Admin username, password, and email
- Search engine visibility preference
- Complete the installation and log in to the dashboard.
Your site is now running like a brand-new installation connected to the same file base. Any themes or plugins stored in wp-content will still be available to activate from the dashboard.
Method 3: Using WP-CLI for Advanced Resets
For developers and power users with command-line access, WP-CLI provides a fast, scriptable way to reset a database to default settings.
Prerequisites for WP-CLI
- SSH access to your server or container.
- WP-CLI installed and available in your path.
- Correct database credentials in
wp-config.php.
Basic Reset Command
Navigate to your WordPress root directory (where wp-config.php resides) and run:
wp db reset
WP-CLI will prompt you to confirm this destructive operation. Once confirmed, it will drop and recreate the database tables using the existing configuration.
Reinstalling Core After Reset
After resetting the database, you can reinstall core and run the installation process:
- To create a fresh install via command line:
wp core installwith appropriate parameters for URL, title, admin user, and admin email.
- To ensure the database structure is up to date:
wp core update-dbafter major core updates or when migrating between versions.
This workflow is ideal for automation, such as scripted resets of development environments, continuous integration pipelines, or batch setup of multiple test sites.
Handling Themes, Plugins, and Uploads After a Reset
A database reset does not automatically remove theme, plugin, or media files stored on the server. Depending on your goals, you may need to tidy up the file system as well.
Cleaning Up Themes and Plugins
After resetting the database:
- Revisit the Themes screen – Only the default theme is typically activated during a fresh install. Deactivate or delete unnecessary themes to simplify maintenance and reduce security surface.
- Check installed plugins – The plugin files are still there, but none are active in the fresh database. Activate only those you actually need and remove the rest.
- Audit plugin options – Some plugins recreate their default settings on activation. Confirm behavior to avoid unwanted defaults or sample data.
Managing Media Files
Media library entries are stored in the database, while the physical files live in wp-content/uploads. After a reset:
- The media library in the dashboard appears empty because all attachment records were removed.
- The actual image and file uploads still exist in the
uploadsdirectory unless you manually delete them.
If you truly want a completely clean start, you may need to:
- Delete or archive the
uploadsdirectory and let WordPress recreate it when new files are uploaded. - Use a media cleanup plugin or custom script to synchronize the filesystem with the database in more complex scenarios.
Preserving Selected Data While Resetting
Sometimes you want the benefits of a reset while still keeping specific data, such as user accounts, WooCommerce products, or custom tables from a mission-critical plugin.
Strategies for Partial Resets
- Backup-and-restore specific tables – Export only the tables you want to keep, reset the rest, then re-import them.
- Use plugin-level tools – Some plugins include their own reset or cleanup routines that operate only on their tables and options.
- Custom SQL scripts – For advanced use cases, tailored queries can empty selected tables (
TRUNCATE) without dropping them.
Before performing partial resets, map out dependencies between tables. For example, user meta entries rely on user IDs, and post meta entries reference post IDs. Resetting one without the other can leave orphaned data.
Best Practices and Safety Tips
To minimize risk and maximize long-term maintainability, keep these guidelines in mind:
- Never reset without a verified backup – Test restoring from backup at least once on a staging environment.
- Avoid resets on active production sites – Use staging environments for experimentation and testing.
- Document your process – If you manage multiple projects or a team, write down the exact steps and tools you use.
- Automate where possible – For recurring development resets, script the actions with WP-CLI or deployment tools.
- Review security and performance afterward – A fresh database is a good moment to audit user roles, harden login policies, and configure caching or object caching from the beginning.
Troubleshooting Common Issues After a Reset
Even when the reset goes smoothly, a few common issues can appear during reconfiguration.
Incorrect Site URL or Home URL
If the site redirects unexpectedly or the dashboard is unreachable, check:
- The General Settings screen for the site address and WordPress address.
- The
wp_optionstable entries forsiteurlandhome, especially if you imported partial data from an old installation.
Missing or Misconfigured Admin Account
If you can’t log in as an administrator after a reset:
- Use <
I’ve been leading Grafiduo since 2010 as the CEO. Together with my development team, I create e-commerce solutions, websites, and digital designs that combine functionality with aesthetics. I focus mainly on WordPress, WooCommerce, and Prestashop, helping businesses grow through well-crafted online experiences.


